
Since we brought it home last spring, I’ve been eager to work on my great-grandmother’s spinning wheel.
When my Pawpaw passed away, he left me a spinning wheel that his mother brought from Finland when she emigrated to Canada, meaning the wheel is likely around 100 years old. And it is still in fantastic shape.
Spinning wheels were extremely popular in the 1980s as home decor, so much so that it spawned what the fibre community calls “Spinning Wheel Shaped Objects (SWSOs).” These contraptions may look like real spinning wheels to the untrained eye; but, as they weren’t built for anything other than decoration, are often missing requisite parts to actually spin fibre.
Which is why when Mawmaw asked me if I wanted it, she reiterated several times that the spinning wheel was absolutely in working condition.
A spinning wheel’s necessary components are:

- Wheel — self-explanatory
- Treadle — the pedal
- Footman — a rod connecting the treadle to the wheel
- Flyer assembly:
- Bobbin — Where the spun yarn gets wound onto
- Orifice — a hole through which the fibre feeds onto the bobbin
- Flyer — a series of hooks that spin independently from the bobbin, tensioning the fibre as it goes around
The first step to get my spinning wheel moving was to install the drive band. A drive band is a piece of string that loops around the main wheel and the flyer assembly so that when you pump the treadle to move the wheel, the momentum also moves the flyer to spin yarn. It’s science!
I consulted the YouTube tutorials by Jillian Eve to help me set it up properly. My wheel is Saxony-style and requires a double drive band. Despite the name, it’s not two drive bands but a single, really long, band that’s looped twice in a sort of figure-eight around the wheel and flyer.
However, the disadvantage of YouTube videos is that they can’t always tell you if there’s something wrong. I managed to get my drive band to turn the assembly and wheel; however, my fibre refused to spin onto the bobbin, instead just twisting around itself in the orifice.
I reached out to Cyndi of Fibre 2 Fabric — a Leduc-based, family-owned business selling hand-dyed yarn and fibre — for help. Cyndi is an avid spinner herself, and we made plans for her to come over and assess my setup. She pointed out that the wheel wobbled heavily to one side, pushing itself into the frame, which was probably not helping me get a good spin going, so I needed to find a way to secure the axel in place.
Furthermore, she informed me that the treadle shouldn’t hit the floor when pedalled, but instead should rest about an inch off the ground. Cyndi surmised that there probably had been some sort of adjuster on the footman at one point to keep the treadle from slamming down like that.
After some ill-fated attempts with wood fill to make a sturdy block for the footman, I tied some butcher’s twine in a thick knot to keep the treadle at the right height.
Then came addressing the wobble. Given its age, some unsteadiness was expected, but this seemed to be a bit much. I noticed that black crumbs of unknown origin were falling out of the axel groove. I was worried that the spinning wheel was rotting.
I needed to figure out how to access the axel. The wheel didn’t just spring forth fully-formed, there had to be a way to take it apart. It was here that I noticed the casings for the axel could move.

After some gentle prying, I dislodged the dowels that were holding the knobs, and therefore the axel in place. To my horror, the dowels were moist and broken. This may be from decades of Louisiana humidity, but I figured that replacing the dowels would be a step in the right direction.

Some fresh dowels and a couple of washers around the axel, my wheel seemed good as new, yet I still wasn’t able to get any fibre onto the bobbin.
At this point I turned my attention to the flyer assembly. I noticed that the bobbin, which should be able to spin freely on the flyer, was completely immobile. My husband, noting that firearms were often made of wood and metal like a spinning wheel, offered up his gun-cleaning equipment for the task.
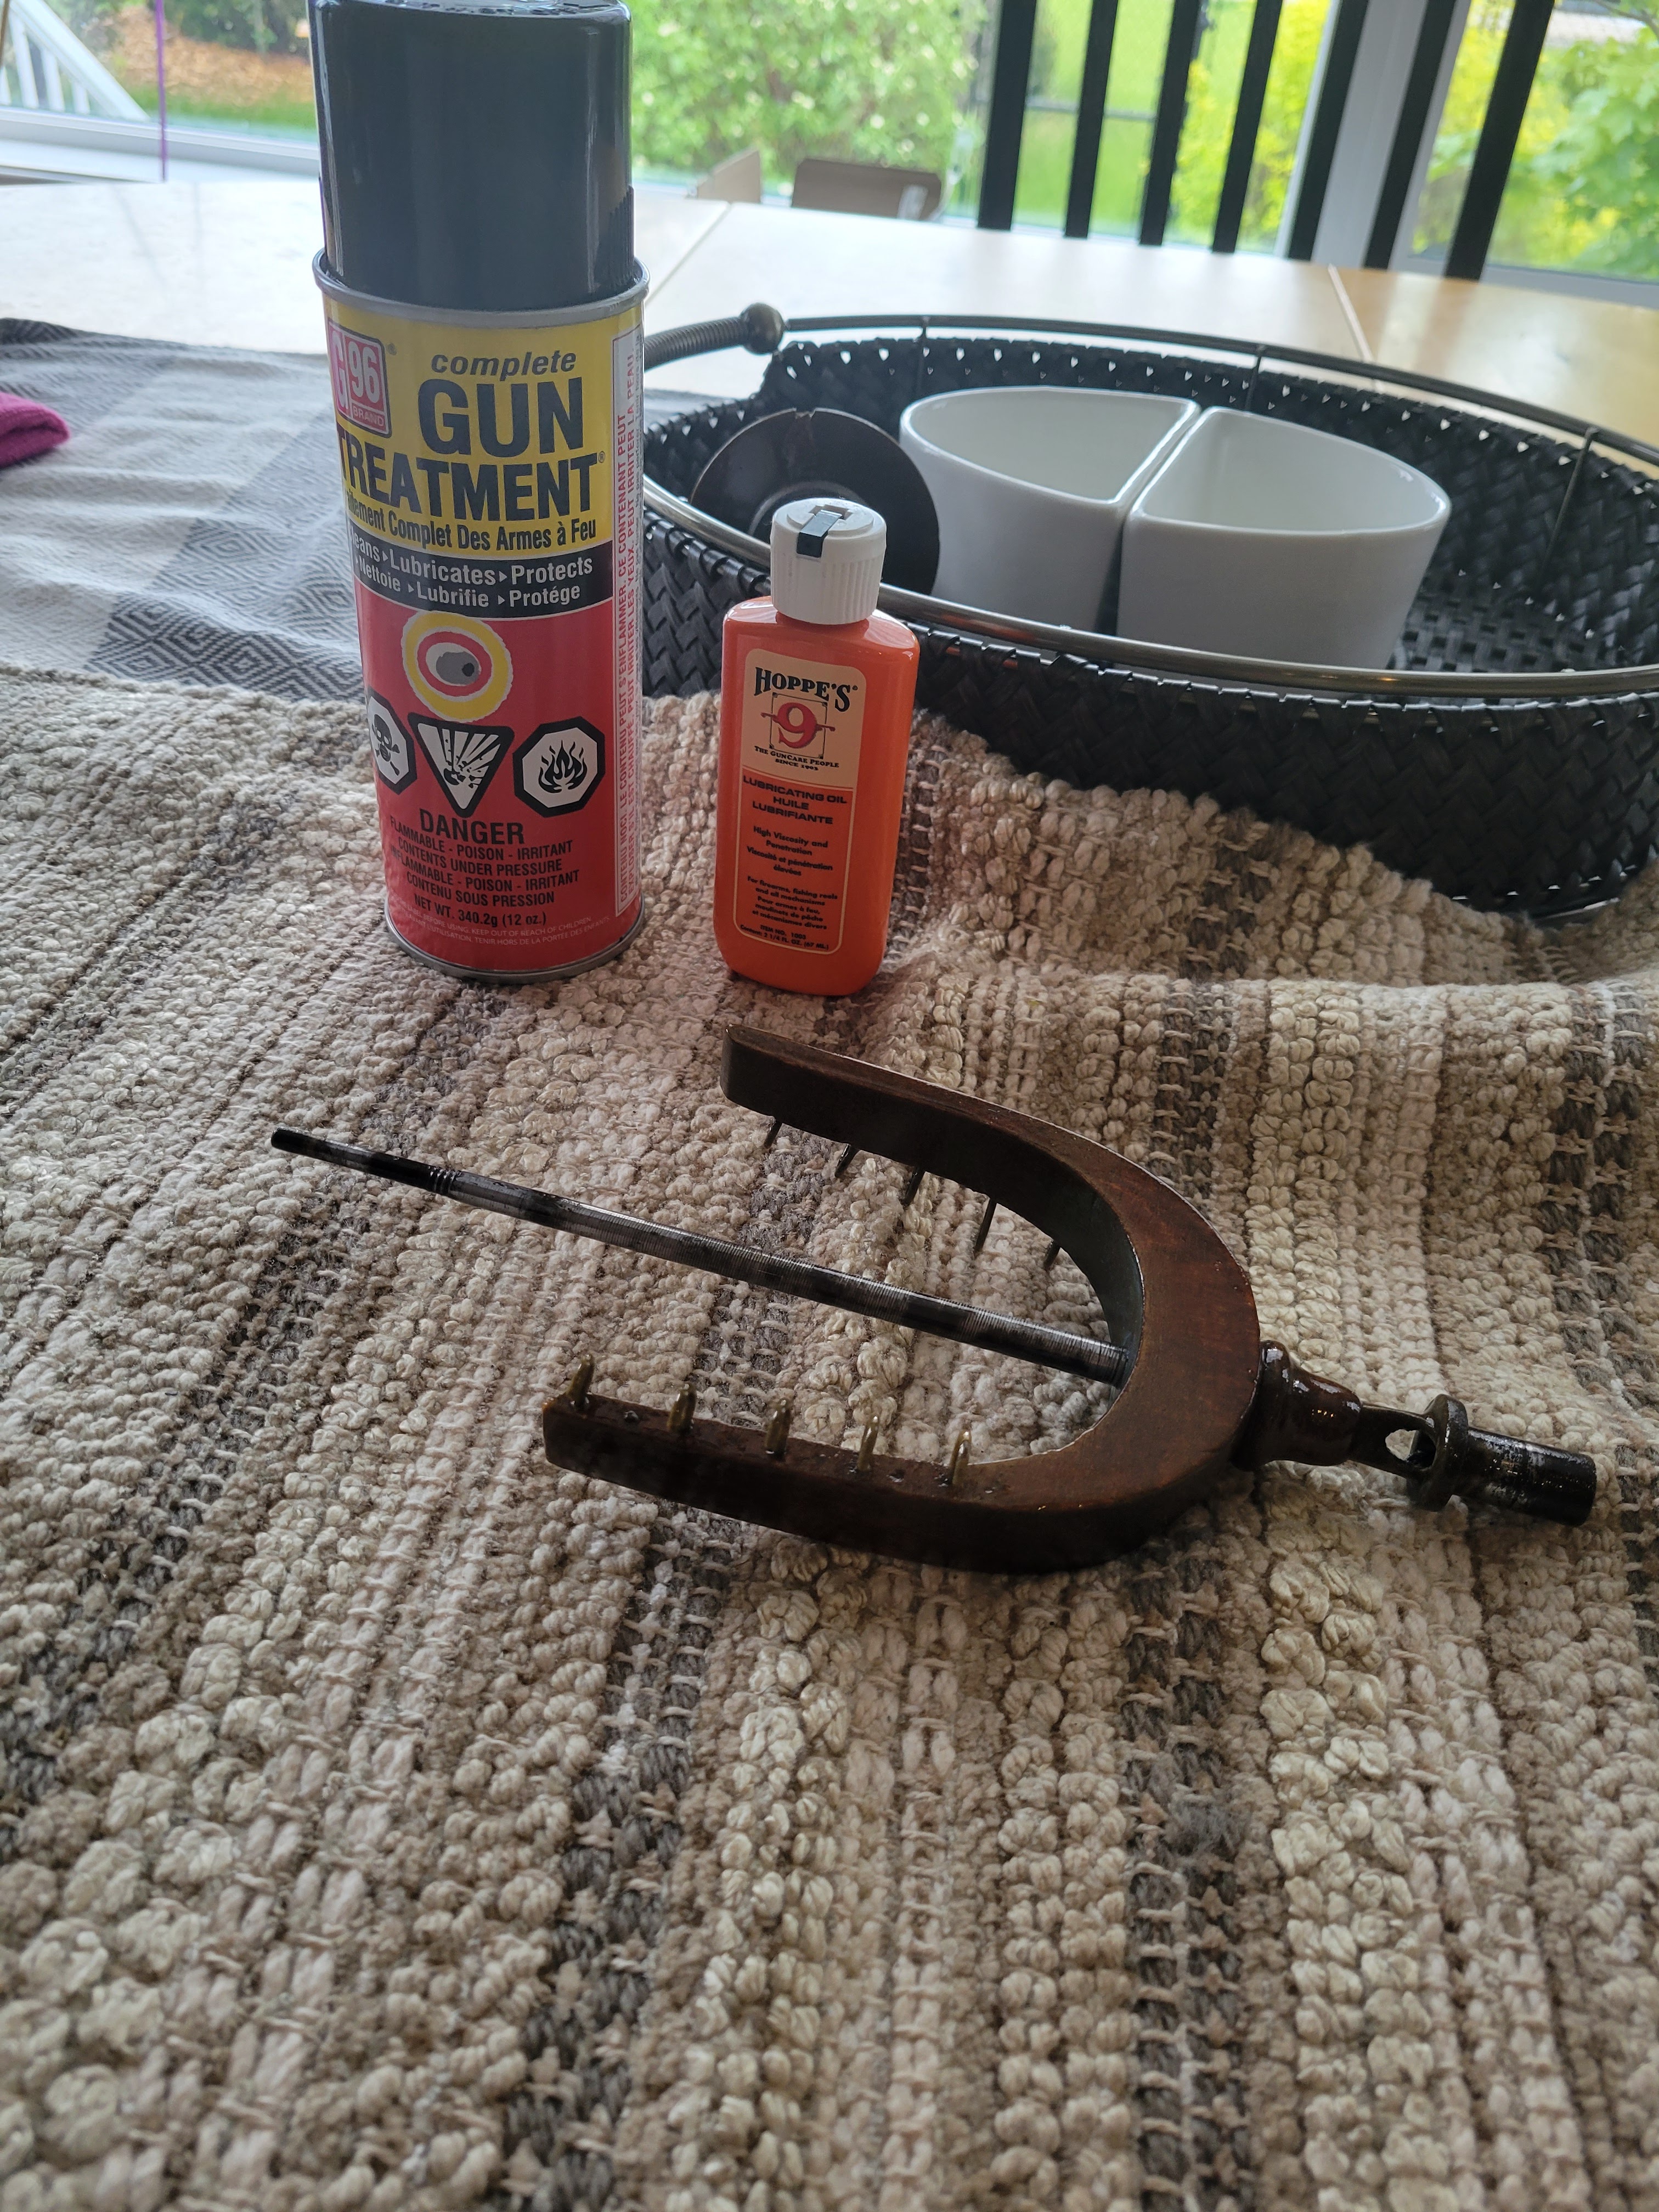
I took apart the assembly and after a quick scrub with cleaner to remove buildup, and a few drops of gun oil, it was finally in working order!
After weeks of poking, prodding, and forensic analysis, I am so thrilled to have my great-grandmother’s wheel returned to its former glory. Just in time for the Tour de Fleece!
What a wonderful heirloom. Have so much fun with it!